Date Archives October 2014

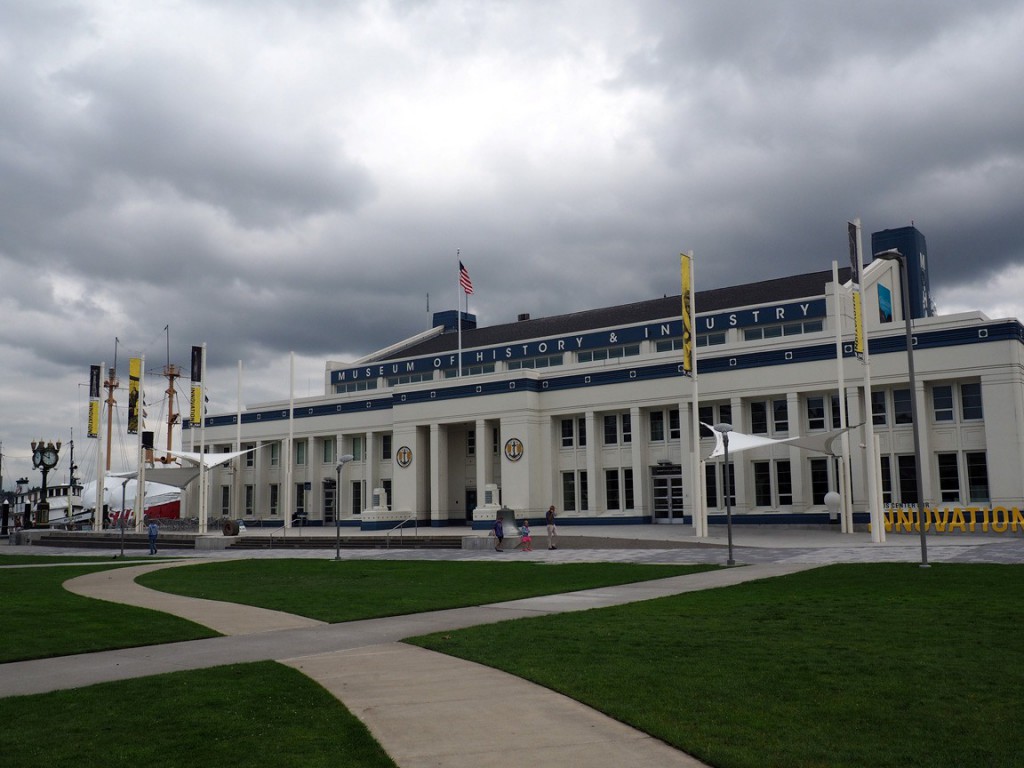
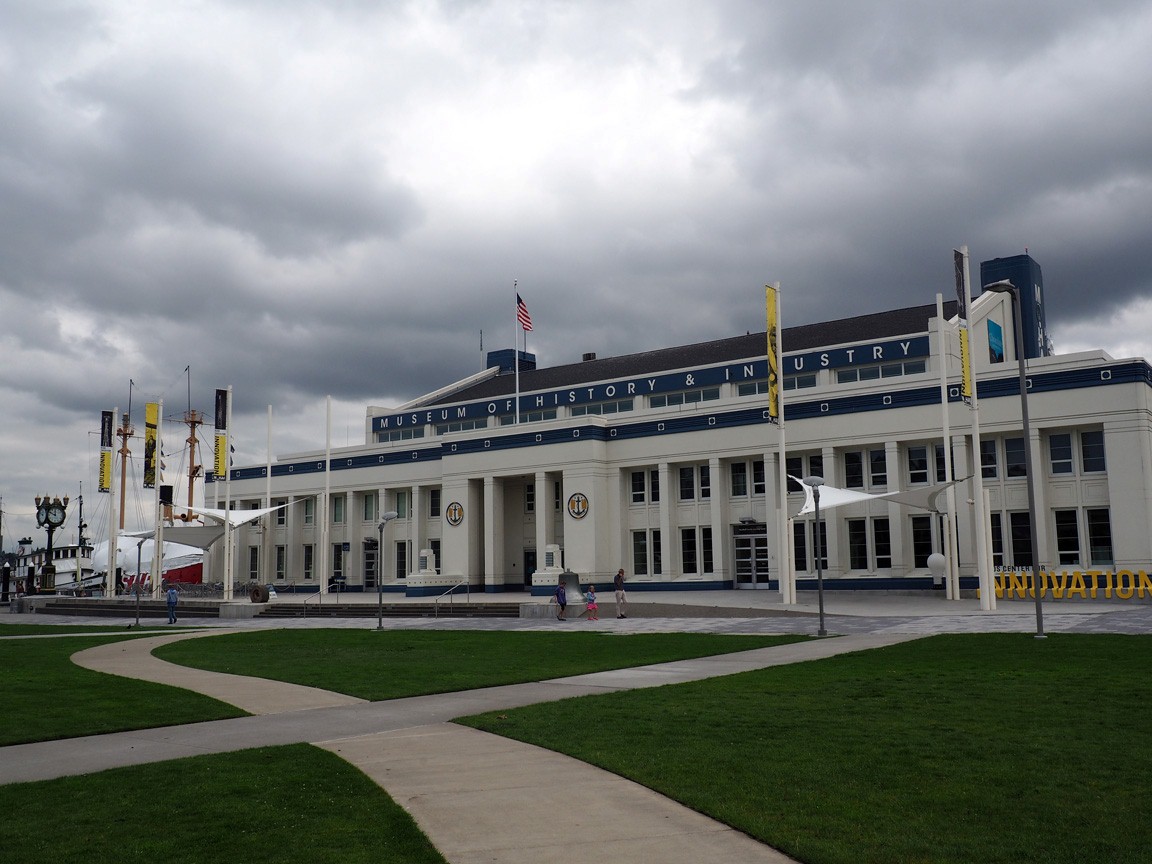
The Seattle Museum of History and Industry

seattle museum of history and industry

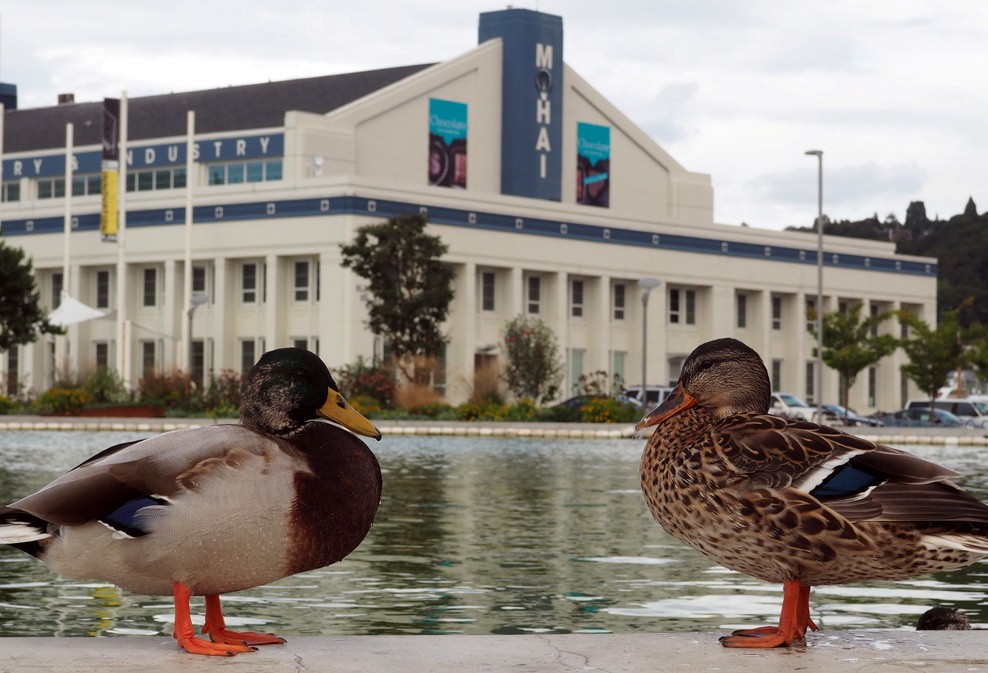
Ducks welcome you to MOHAI

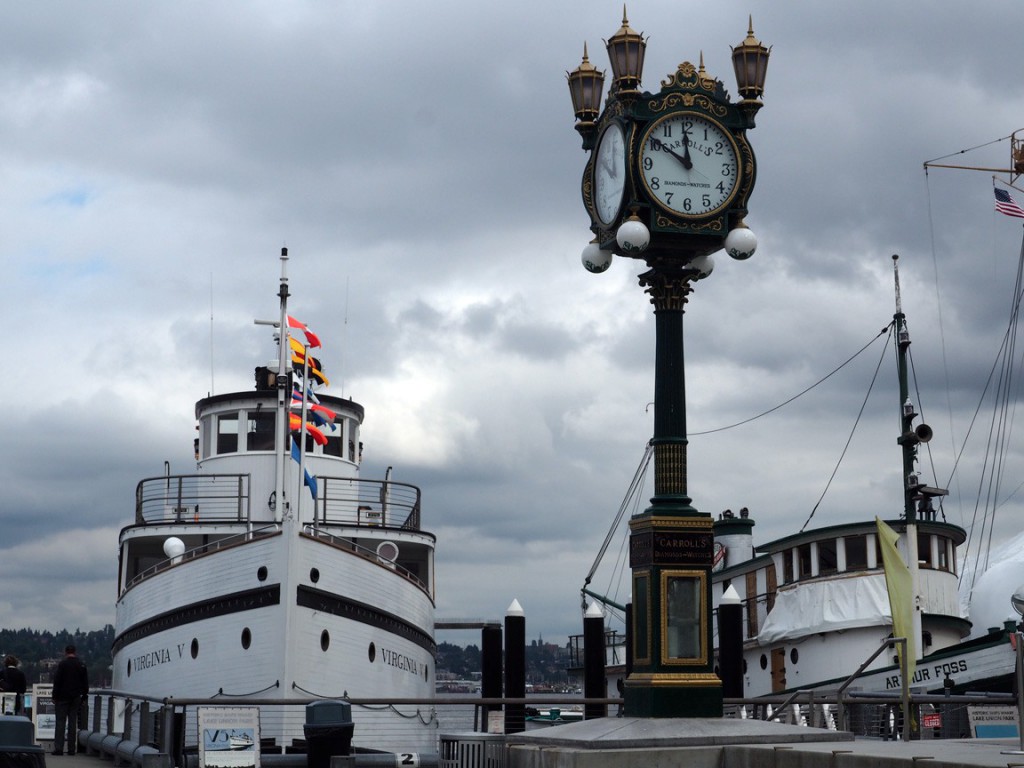
clock outside MOHAI

The Seattle Museum of History and Industry (or MOHAI) manages to perfectly blend education and fun, which I personally believe is the sweet spot for most museums. Not all–you don’t want to risk making light of some serious topics–but there are plenty of museums that can benefit from some interactivity or lightheartedness to keep the tone from being too dry. MOHAI nails it, pumping visitors full of information in an entertaining fashion with a bit of quirkiness as well. It’s like they made the museum specifically to appeal to me–I best retain information when it’s conveyed with a sense of humor.

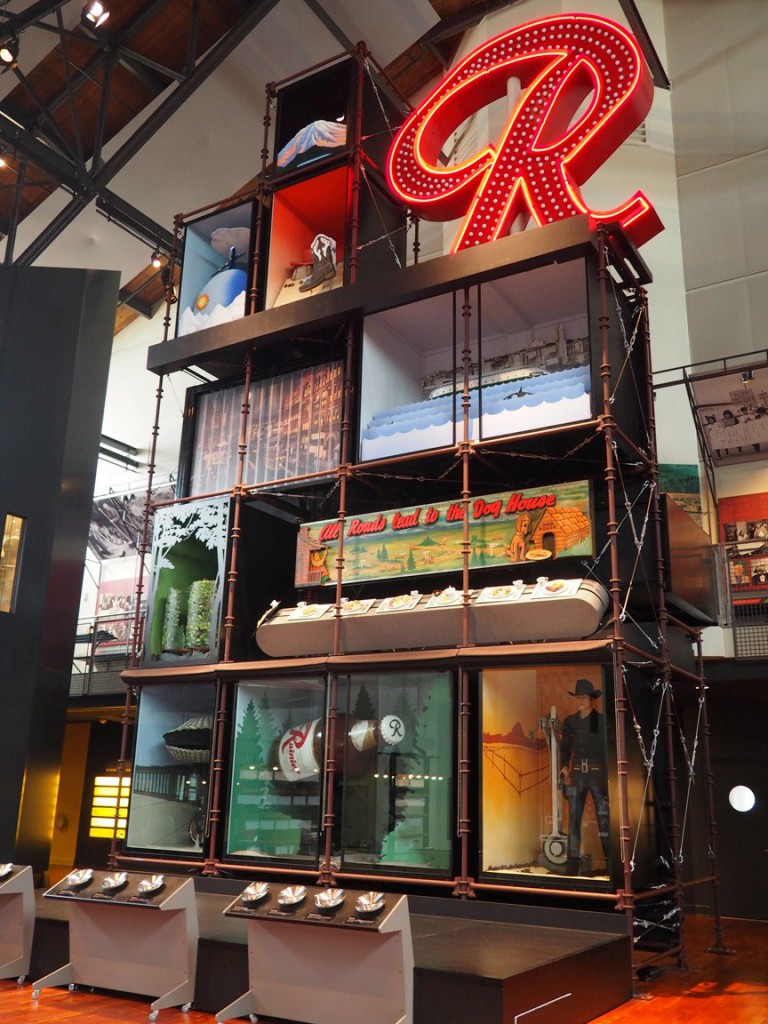
MOHAI interior

Each part of this display has an interactive component–some parts light up. The orcas jump in the waves. The sushi rolls down the conveyer belt. The clam pedals its bicycle. Black Bart draws his gun. It is so flipping cool.

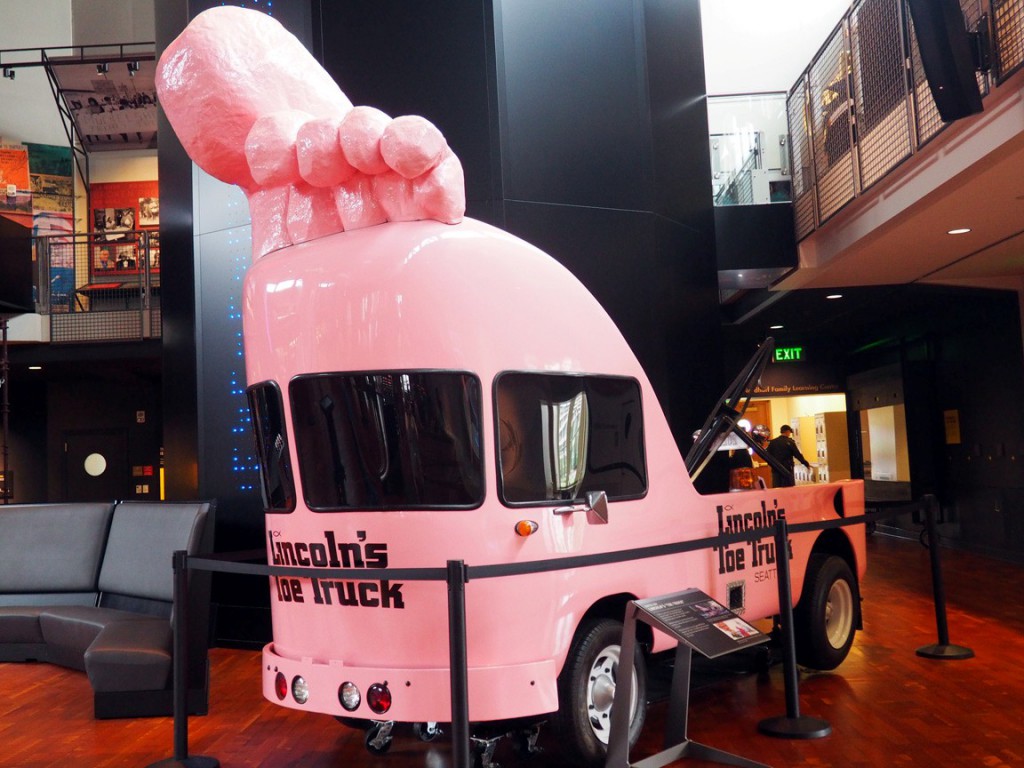
toe truck

They also have one of the two Toe Trucks on display–the left. Where the right one is, I’m not sure, but I remember reading about the Toe Trucks way back when I bought my first Roadside America book something like twenty years ago, so it was very cool to finally see one in person.
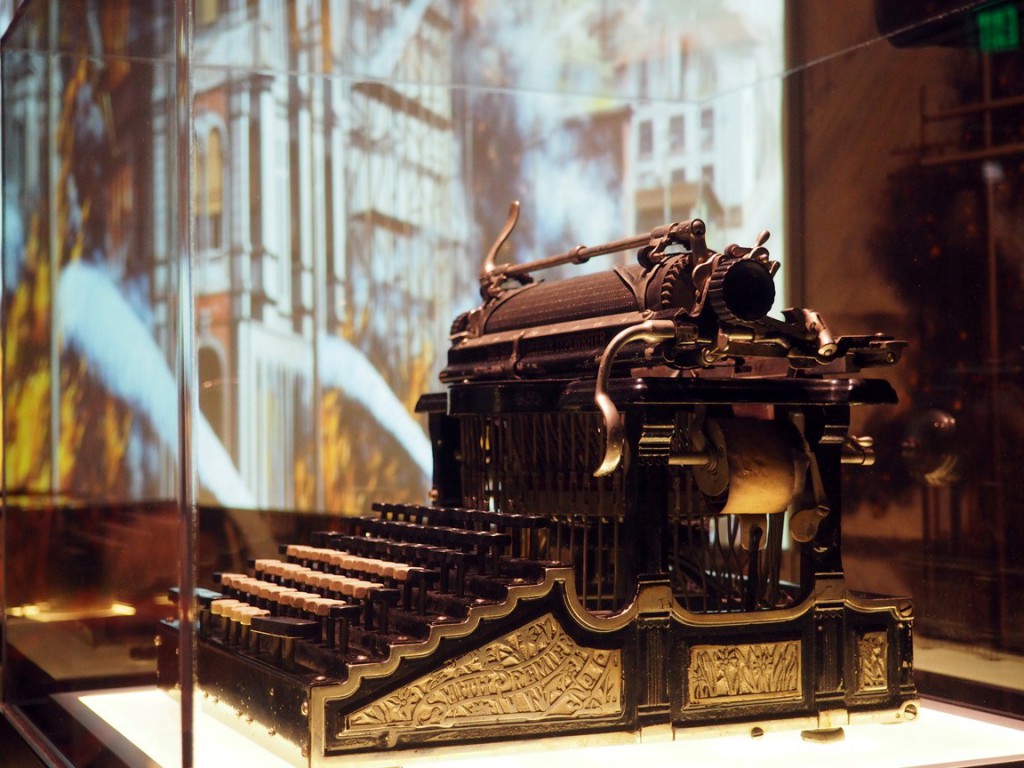
the typewriter of my hipster dreamsThe typewriter of my hipster dreams.

They also had the best educational video I’ve ever seen. When my friend and I decided to swing back by the room about the Seattle fire when the video was scheduled to start, neither one of us expected the hilarity that was about to unfold in front of us.

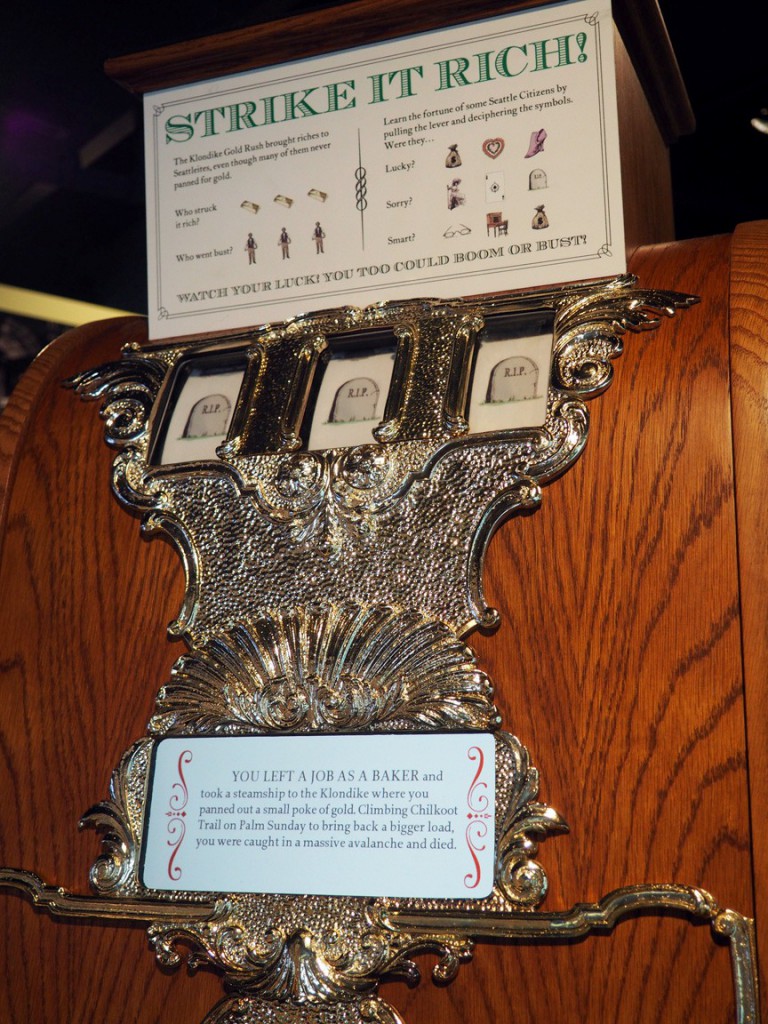
strike it rich

They also had a slot machine that had a game about pioneer life in early Seattle that reminded me a lot of the one at the Astoria museum. Maybe because they both killed me off right away.

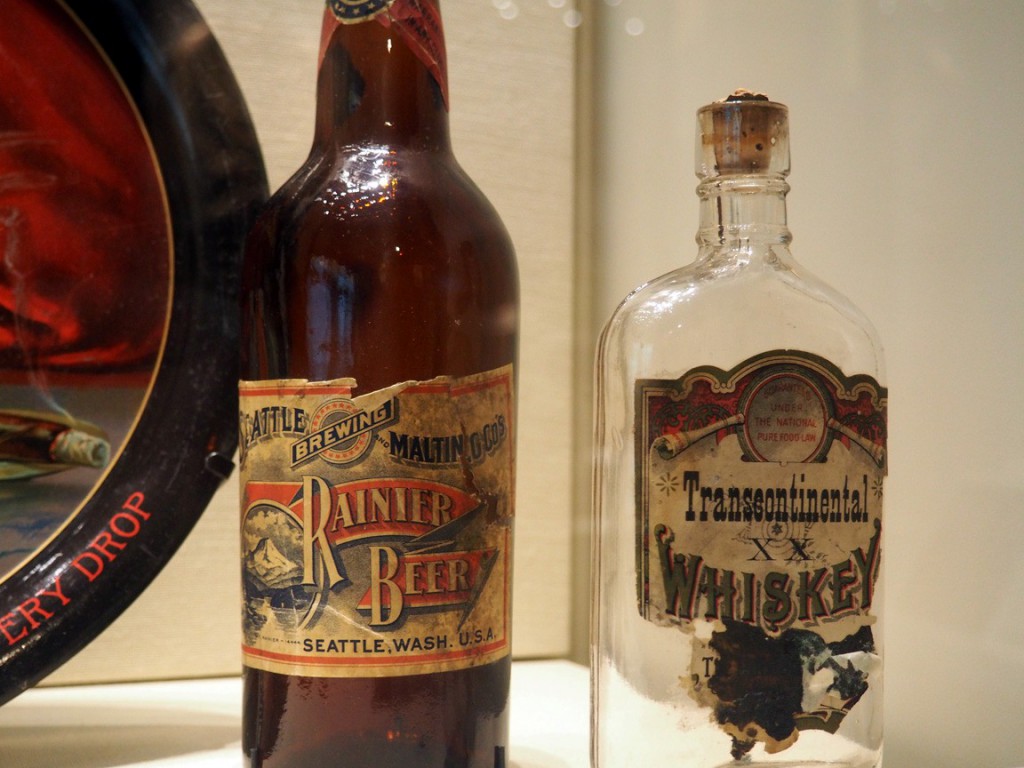
prohibition

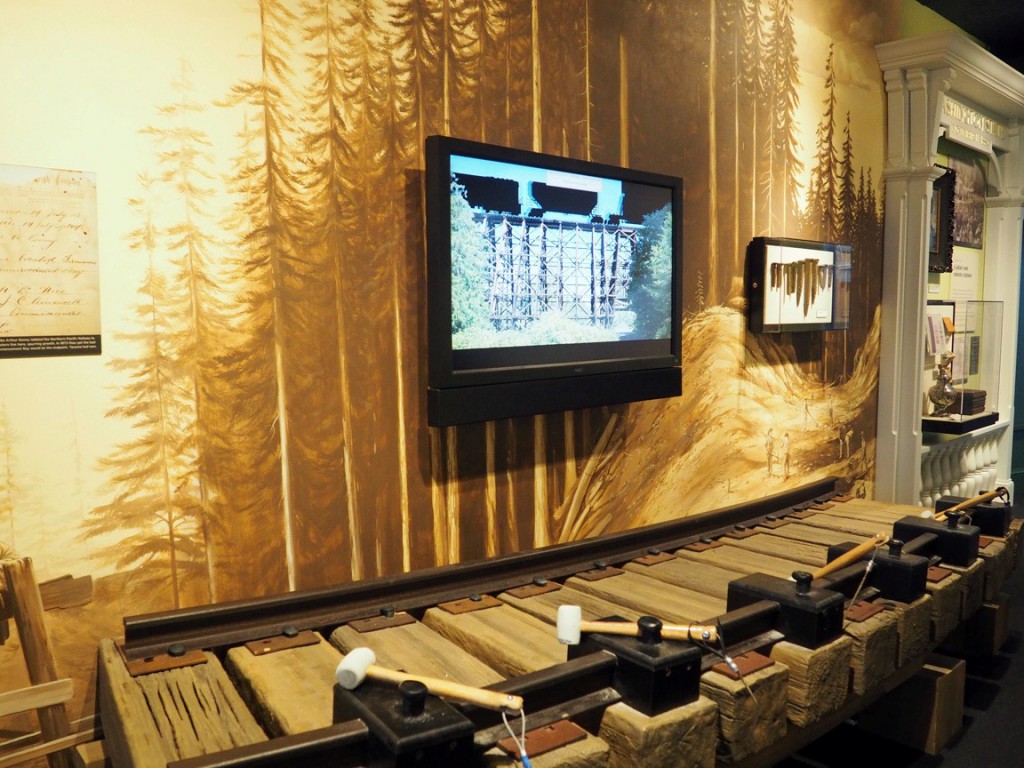
build a railroad

if i had a hammer

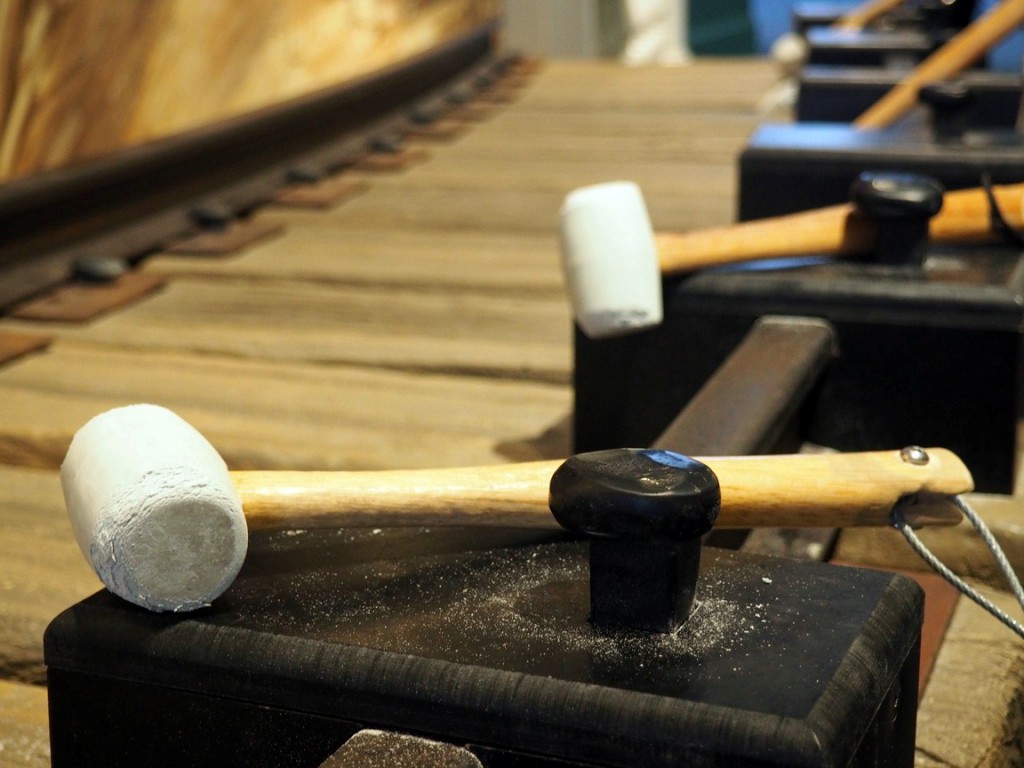
When I saw this rubber mallet and the railroad spikes set up in front of a monitor, I thought it probably wouldn’t hurt if I whacked a spike just a little with one, one time. As it turns out, it’s an interactive display that requires you to pound the spikes with the mallets, over and over again, for something like fifteen minutes. In order to get through the entire educational segment about the transcontinental railroad, we both ended up hammering with a mallet in each hand to speed the process. By the time it wrapped up, I had broken into a light sweat. That is how serious they are about getting you to work on the railroad all the livelong day.

dogs in the sky for candy

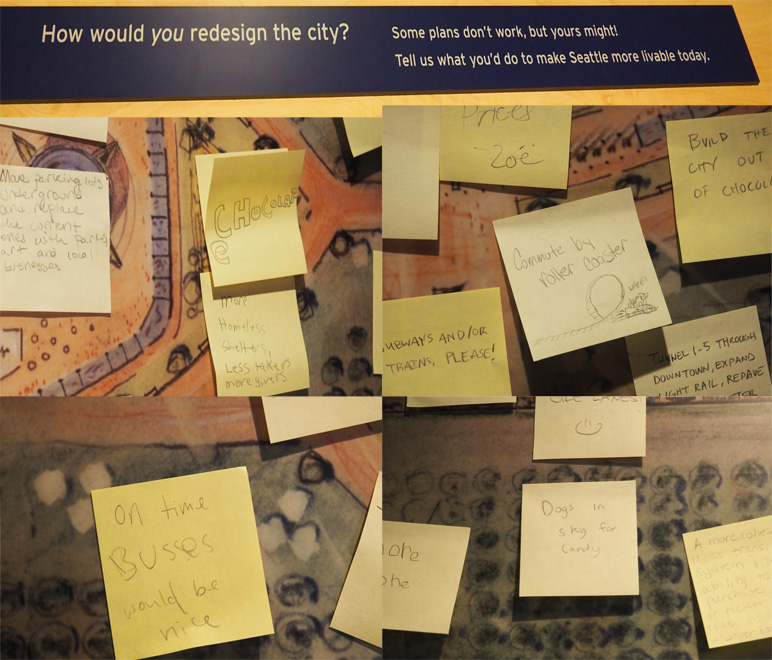
Unfortunately, after the railroad, development on public transit basically stalled out permanently, which is why most of the suggestions about how to redesign the city involve transit. Though “dogs in sky for candy” would be good, too.
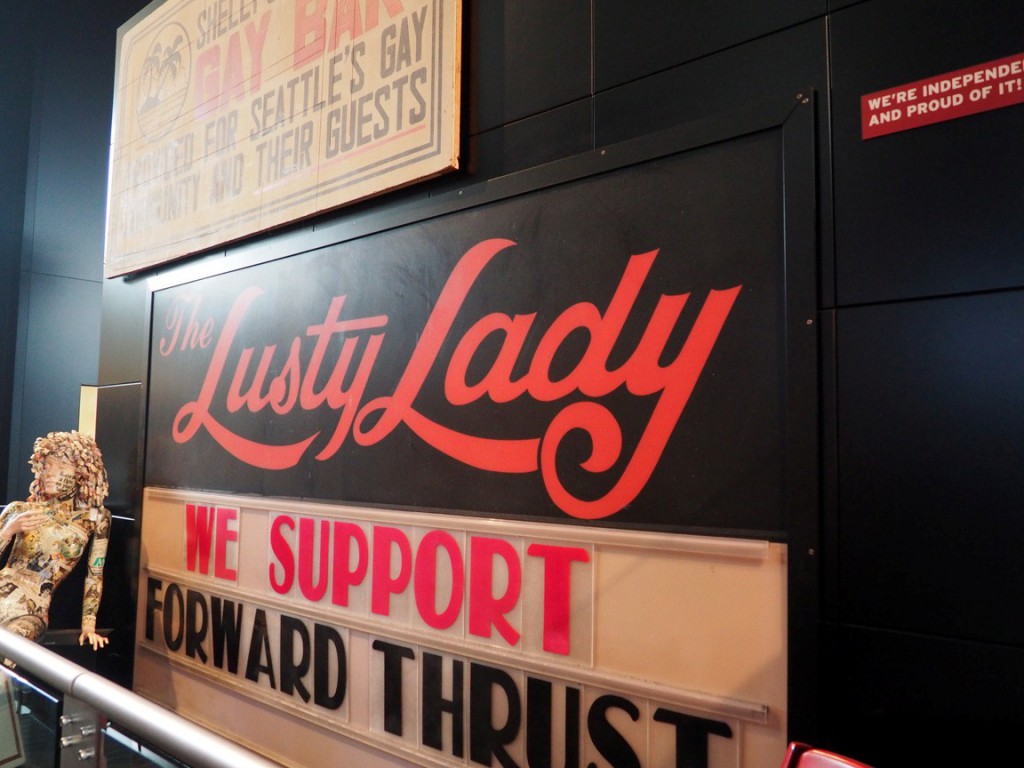
lusty ladyThe Lusty Lady may be gone, but the sign lives on at MOHAI!

innovate

innovation room

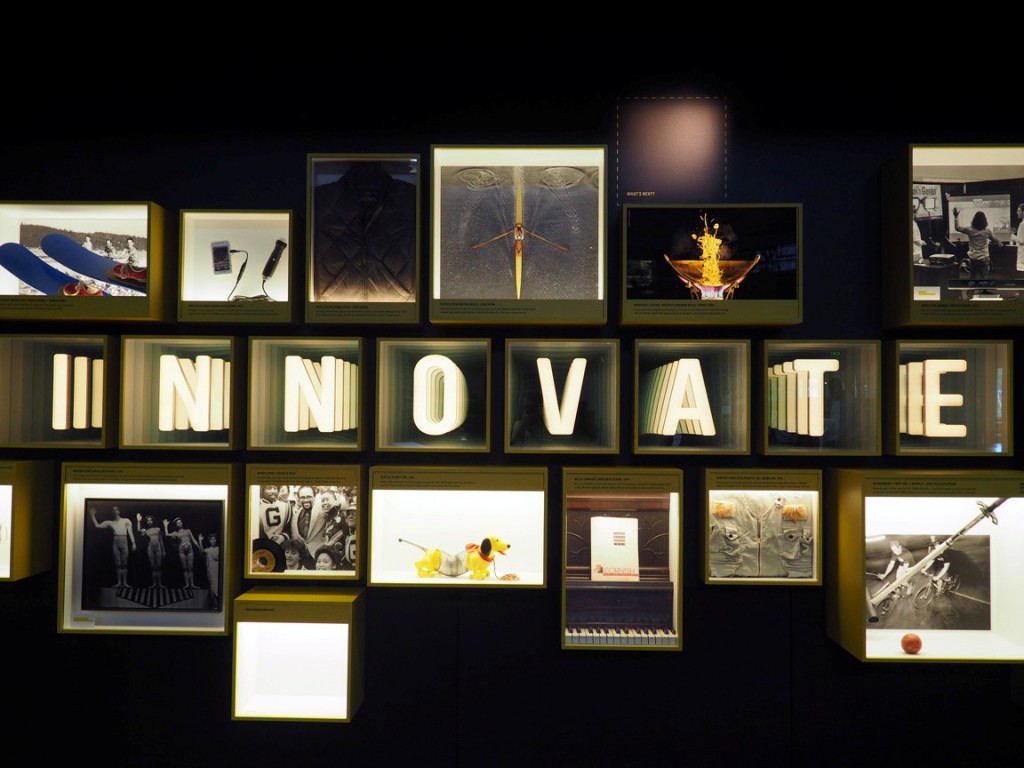
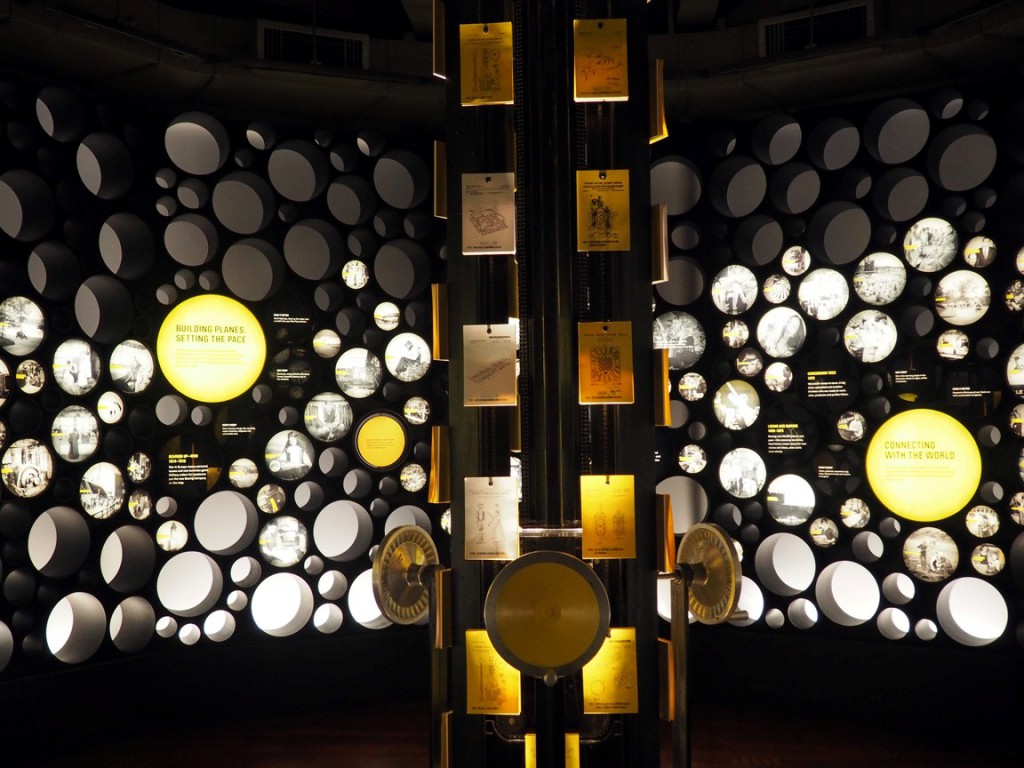
The innovation section of the museum is an excellent way to remind visitors of the astounding number of things that have revolutionized modern life that have their roots in Seattle. Not just $5 coffee, but computing, engineering, even the way we purchase goods! There’s something about the culture of Seattle that encourages invention, and MOHAI is right there, asking visitors what they will create to change the world. It’s refreshing and inspiring, and I resolve to introduce at least one new fart joke into the general lexicon, because that is what I can do. MOHAI is a top-notch museum, and absolutely one of my favorites. I’d definitely recommend it alongside the Underground Tour for anyone interested in learning about the history of Seattle.

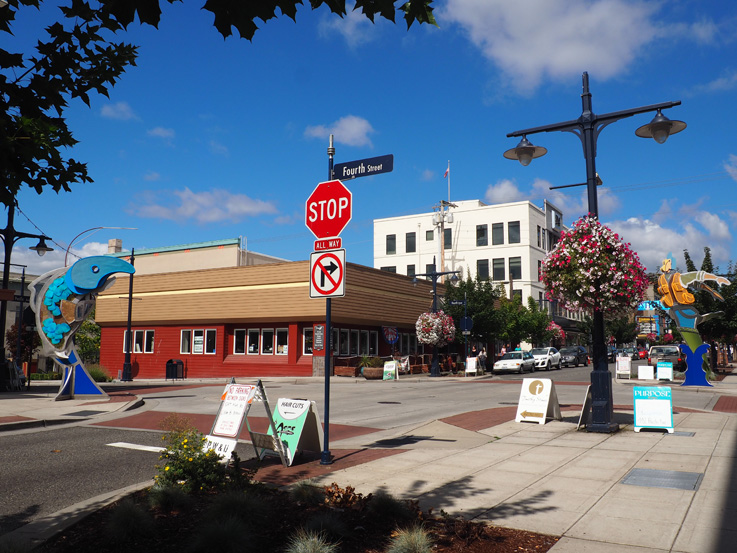
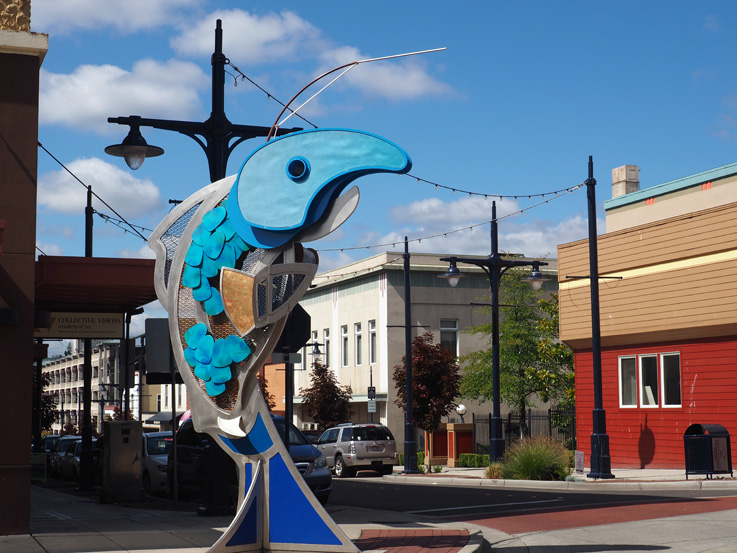
Spotted on the Roadside: A Man-Eating Fish

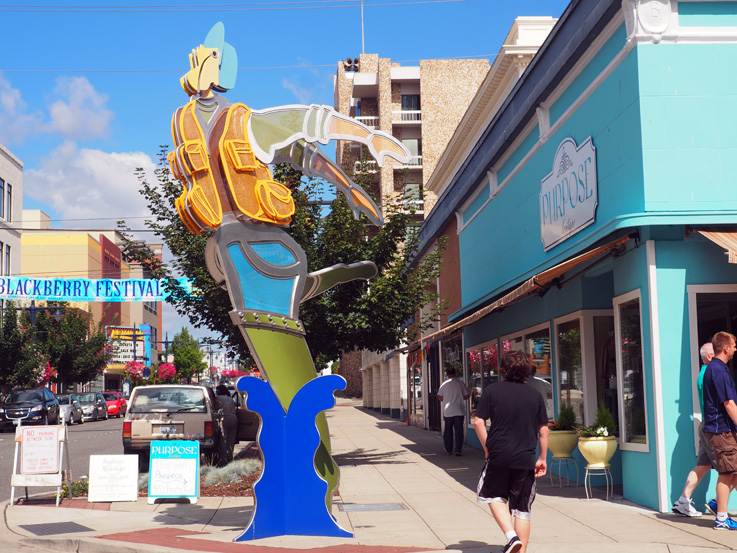
In Bremerton, the fish have completely turned the tables on your average lusty Washington fisherman, battling him out of the water (much to his surprise). All that remains is to gut him, clean him, and prepare him for dinner–may I suggest sus-he*?

Spotted on Fourth Street in Bremerton, WA   *Worst. Pun. Ever.

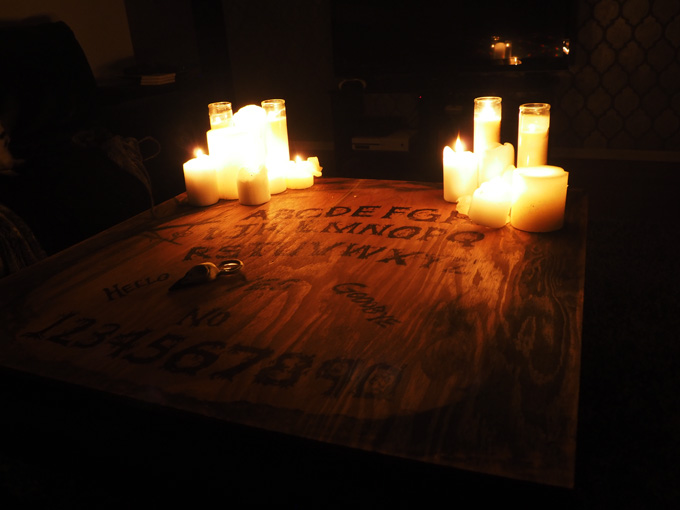
What do you do? You get the best looking ouija board I’ve ever seen and put it in the middle of our living room–explain that to me!

Sometimes, when you want something done right (or at least, large), you have to do it yourself. I had an Ouija board out at my last Halloween party, but it was plastic-y, cheap, and not the eye-catching spooky centerpiece that I was looking for. If I was going to turn my house into a proper Goth Downton Abbey in October, I’d need something grander.

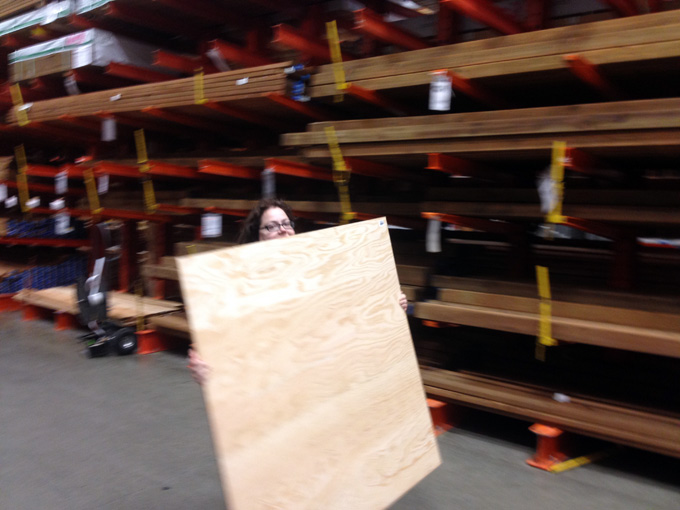
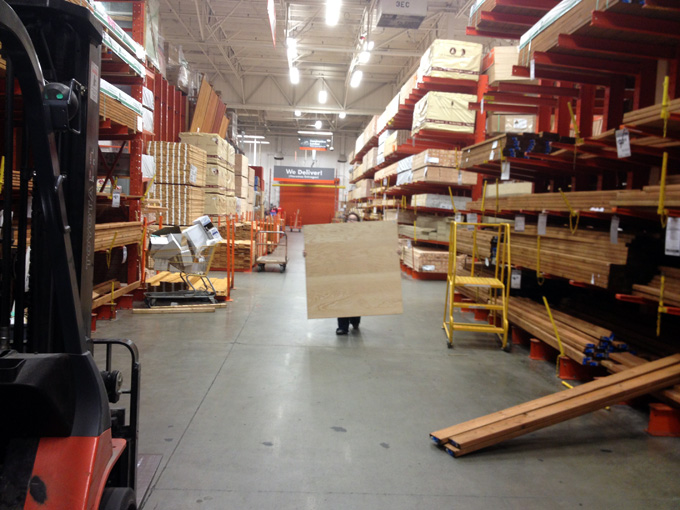
Something grander started with a big hunk of plywood at Home Depot. I took the measurements of my coffee table and had them cut the board to those dimensions. (I ended up having to wander through the store for a while looking for an employee, and as the piece of plywood was so large, it looked like I was using a clever disguise to hunt wascally wabbits.)

giant plywood

home depot camouflage

Once that sucker was cut to the proper size, I brought it home and used a woodburning tool on all of the edges so they wouldn’t be so bright–I wanted them dark enough to almost visually blend with the coffee table in dim lighting. I could have accomplished this aim in any number of ways other than woodburning: stain, paint, marker, blood of the innocent…I just chose the method that tickled my pickle at the time.

workbench

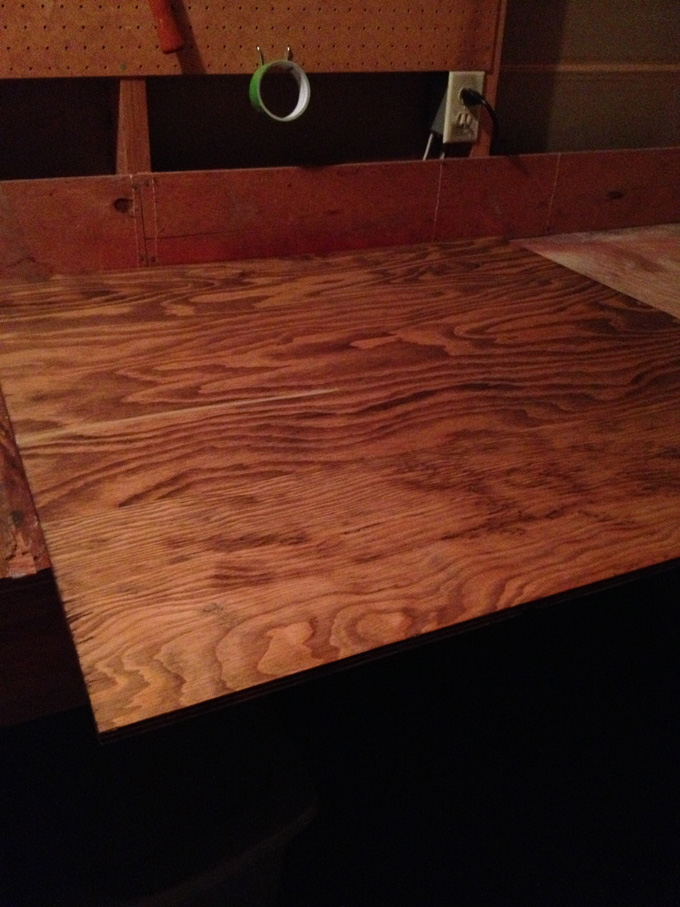
After the edges were to my liking, I put a couple of thin coats of Restor-A-Finish on top to bring out the grain and darken the wood a bit. I chose Restor-A-Finish for a couple of reasons: one, I had it on hand already so it was effectively free, and two, Restor-A-Finish has only a small amount of stain in it so I didn’t have to worry about accidentally making the wood so dark that it would compete with the lettering on top.

stained

As usual, it’s at this point in the process where I got so involved that I stopped taking pictures, because I always forget about maybe blogging the project later in the heat of the moment. But it’s not like there’s that much to it, either. I wanted the board to have a creepy woodsy theme, so I used very thinned-out black acrylic paint to wash on a couple of trees on either side of the board. Thinned out acrylic soaks into the wood much like watercolor and by layering it, I was able to get the overall effect I was looking for. I found a free font I liked on dafont and printed it out huge. Using that as a guide, I eyeballed it and penciled a larger approximation of each letter onto the board. When I was satisfied with placement, I then used a sharpie to fill them in. I went with sharpie over paint for the ease of crisp lines, a generally matte texture, not having to worry about chipping, and keeping the lettering area smooth. I have zero intention of ever using it as a functional board (I don’t believe in it and even if I did, it’s too dang big), but I wanted it to look as though it could be used as one, and letters with any amount of raising would keep the planchette from moving smoothly.

planchette

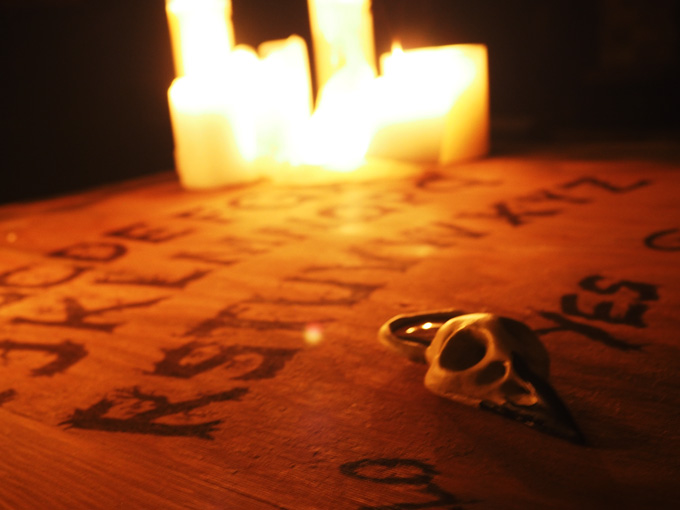
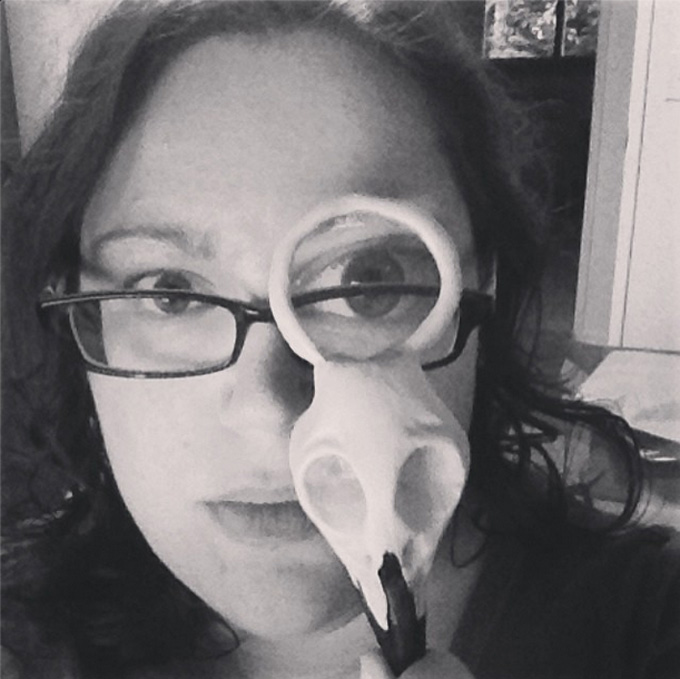
Speaking of the planchette, I decided that instead of the standard heart-shaped piece of wood, I wanted something that looked sort of like a crow skull. To make it, I used a cheap monocle I’d bought as a photo booth prop for the wedding and sculpted the skull shape using apoxie sculpt around it. I love apoxie sculpt–you mix equal parts of the putty thoroughly and you have 1-3 hours working time to get it shaped it exactly as you’d like, after which it cures hard and waterproof, able to be painted, sanded, drilled, and pretty much anything else you can imagine. I find it superior to sculpey and the like because it doesn’t need to be baked to cure and I’ve found it to be less fragile as well. The only downsides are the shorter working time and higher cost per ounce, but I’m still using the one pound pack I bought in 2010, and I’ve found that if I don’t finish a small sculpting project within a couple of hours, I won’t ever finish it, so the shorter working time actually works for me in that it keeps my butt glued to the seat and focused on what I’m doing. Once the apoxie sculpt finished curing, I painted it with some acrylic paint.

Spooky, no? If I was going to do it over, I’d use a larger magnifying glass lens instead of a monocle, and I may yet do so, if only because the magnified area is so relatively small compared to the size of the letters. But for under $12 (basically, the cost of the wood, since I had all of the other materials on hand), I definitely have something that’s much more dramatic and eye-catching than the cardboard board game!