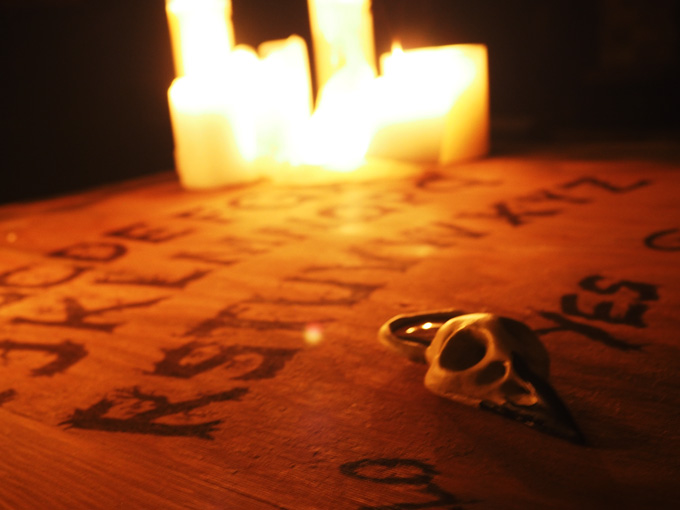
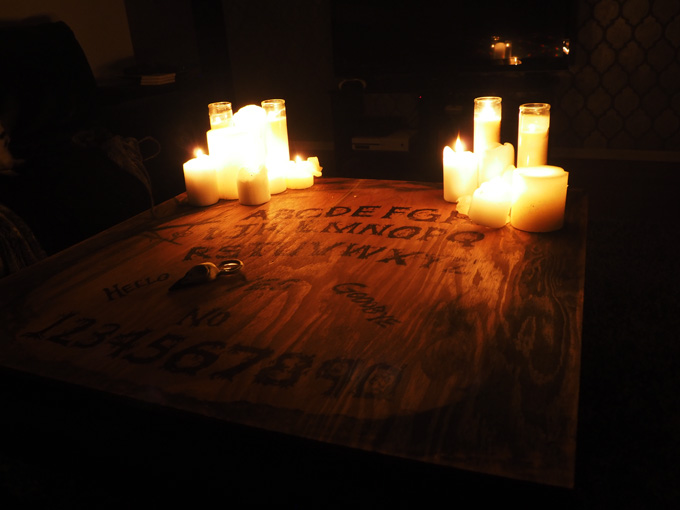
Sometimes, when you want something done right (or at least, large), you have to do it yourself. I had an Ouija board out at my last Halloween party, but it was plastic-y, cheap, and not the eye-catching spooky centerpiece that I was looking for. If I was going to turn my house into a proper Goth Downton Abbey in October, I’d need something grander.
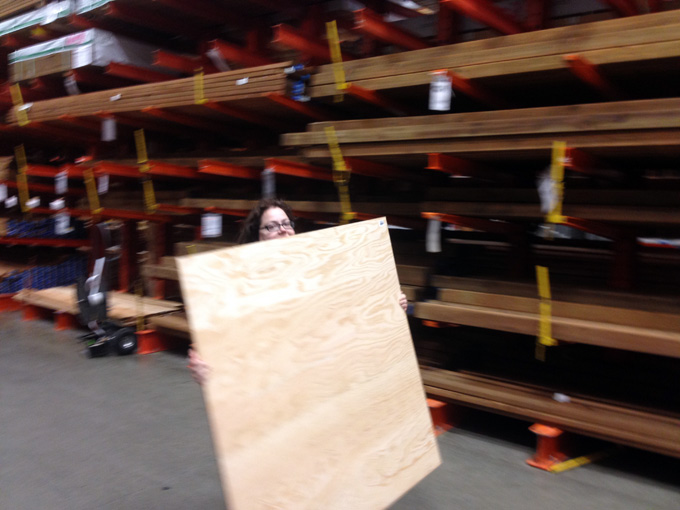
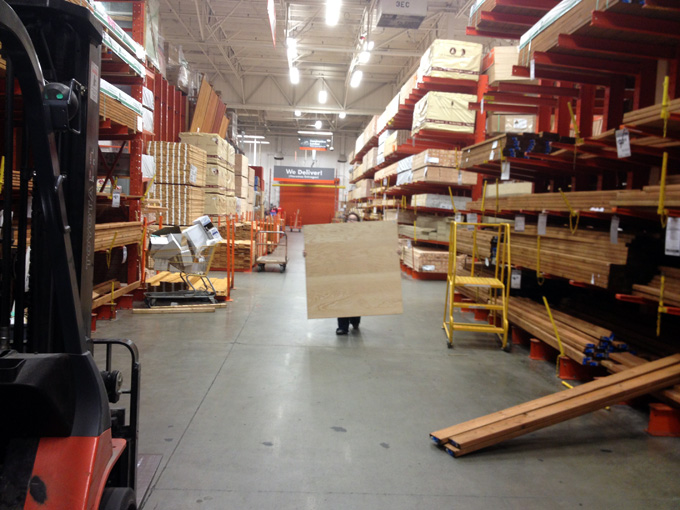
Something grander started with a big hunk of plywood at Home Depot. I took the measurements of my coffee table and had them cut the board to those dimensions. (I ended up having to wander through the store for a while looking for an employee, and as the piece of plywood was so large, it looked like I was using a clever disguise to hunt wascally wabbits.)
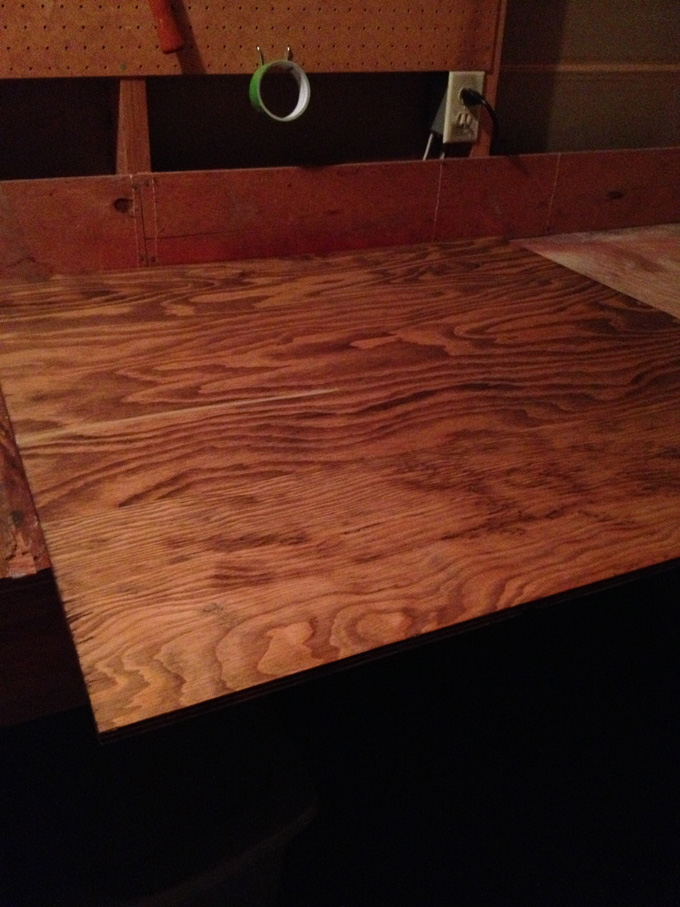
Once that sucker was cut to the proper size, I brought it home and used a woodburning tool on all of the edges so they wouldn’t be so bright–I wanted them dark enough to almost visually blend with the coffee table in dim lighting. I could have accomplished this aim in any number of ways other than woodburning: stain, paint, marker, blood of the innocent…I just chose the method that tickled my pickle at the time.
After the edges were to my liking, I put a couple of thin coats of Restor-A-Finish on top to bring out the grain and darken the wood a bit. I chose Restor-A-Finish for a couple of reasons: one, I had it on hand already so it was effectively free, and two, Restor-A-Finish has only a small amount of stain in it so I didn’t have to worry about accidentally making the wood so dark that it would compete with the lettering on top.
As usual, it’s at this point in the process where I got so involved that I stopped taking pictures, because I always forget about maybe blogging the project later in the heat of the moment. But it’s not like there’s that much to it, either. I wanted the board to have a creepy woodsy theme, so I used very thinned-out black acrylic paint to wash on a couple of trees on either side of the board. Thinned out acrylic soaks into the wood much like watercolor and by layering it, I was able to get the overall effect I was looking for. I found a free font I liked on dafont and printed it out huge. Using that as a guide, I eyeballed it and penciled a larger approximation of each letter onto the board. When I was satisfied with placement, I then used a sharpie to fill them in. I went with sharpie over paint for the ease of crisp lines, a generally matte texture, not having to worry about chipping, and keeping the lettering area smooth. I have zero intention of ever using it as a functional board (I don’t believe in it and even if I did, it’s too dang big), but I wanted it to look as though it could be used as one, and letters with any amount of raising would keep the planchette from moving smoothly.
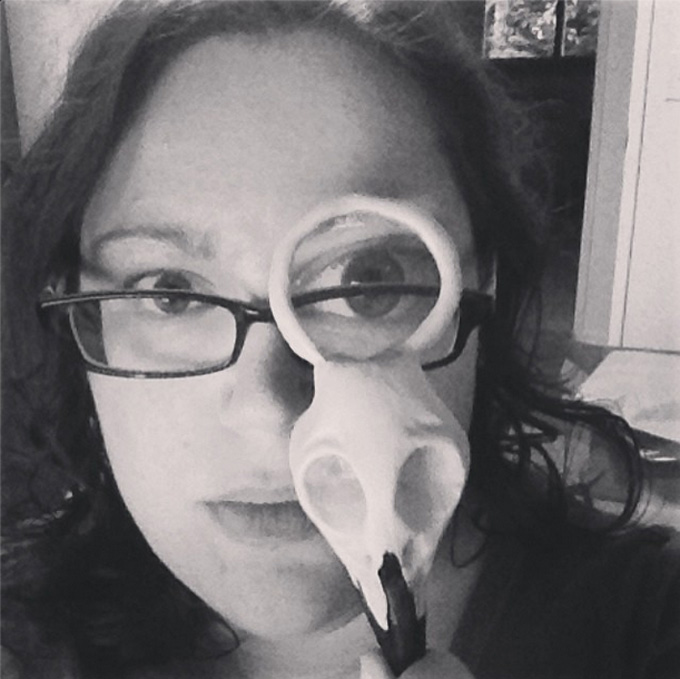
Speaking of the planchette, I decided that instead of the standard heart-shaped piece of wood, I wanted something that looked sort of like a crow skull. To make it, I used a cheap monocle I’d bought as a photo booth prop for the wedding and sculpted the skull shape using apoxie sculpt around it. I love apoxie sculpt–you mix equal parts of the putty thoroughly and you have 1-3 hours working time to get it shaped it exactly as you’d like, after which it cures hard and waterproof, able to be painted, sanded, drilled, and pretty much anything else you can imagine. I find it superior to sculpey and the like because it doesn’t need to be baked to cure and I’ve found it to be less fragile as well. The only downsides are the shorter working time and higher cost per ounce, but I’m still using the one pound pack I bought in 2010, and I’ve found that if I don’t finish a small sculpting project within a couple of hours, I won’t ever finish it, so the shorter working time actually works for me in that it keeps my butt glued to the seat and focused on what I’m doing. Once the apoxie sculpt finished curing, I painted it with some acrylic paint.
Spooky, no? If I was going to do it over, I’d use a larger magnifying glass lens instead of a monocle, and I may yet do so, if only because the magnified area is so relatively small compared to the size of the letters. But for under $12 (basically, the cost of the wood, since I had all of the other materials on hand), I definitely have something that’s much more dramatic and eye-catching than the cardboard board game!


You are made of creative awesome, that is amazing! I’ll never look at my coffee table the same way again. 🙂
Thank you! It was really easy to make if you were thinking about attempting it yourself! 🙂